Henna Instructions
What is Henna?
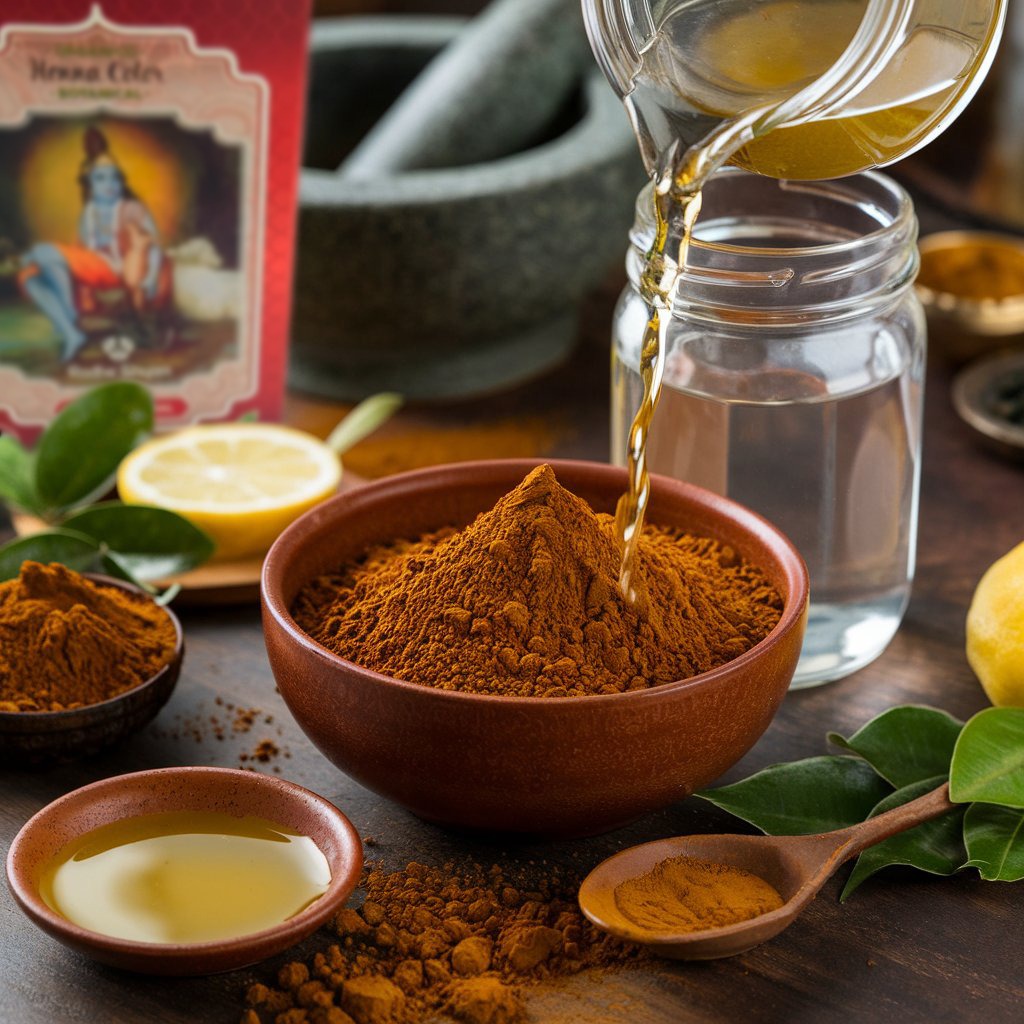
Henna is a natural dye made from the leaves of the Lawsonia inermis plant. Native to warm regions such as North Africa, the Middle East and South Asia, this plant has been used for thousands of years to dye hair, skin (such as in temporary tattoos) and nails.
It is known for its distinctive reddish-orange color, but when mixed with other natural ingredients, it can produce different shades, from chestnut to deep black.
Henna is the most widely used cosmetic in history. Its properties were discovered in ancient times. In China, ladies of the court dyed their nails with henna, it is mentioned in the Bible, and even the mummy of Ramses II has traces of its application to his hair.
Benefits of henna
Henna is known to offer multiple benefits for both hair and scalp. As a natural dye, it strengthens hair from the roots, improving its elasticity and reducing breakage. It also nourishes and conditions hair, leaving it soft, shiny and healthier looking.
Henna also balances the pH of the scalp, helping to reduce dandruff and control excess oil. Containing no harsh chemicals, it is a safe and gentle option, ideal for those looking for a natural alternative to conventional dyes without sacrificing long-lasting and vibrant results.
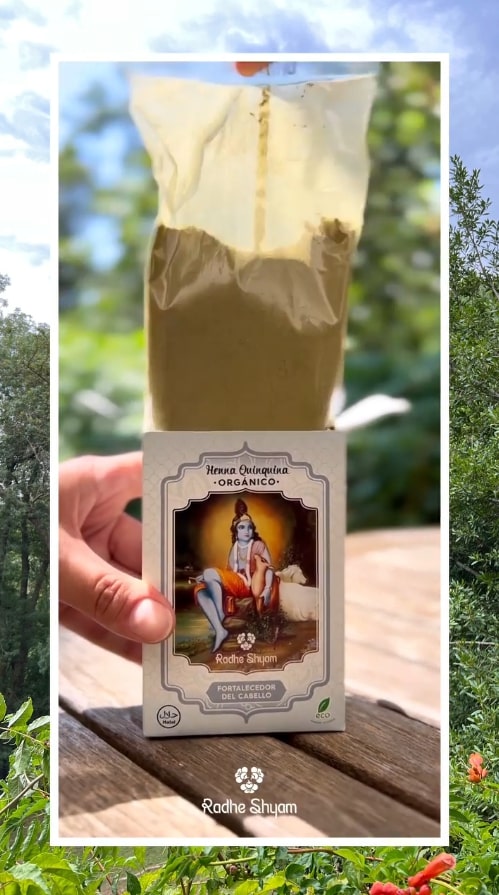
1. What will you need?
- Brush
- Wide comb
- Gloves
- Plastic cap
- Bowl
- Soup spoon
- Shampoo for Henna
- Henna powder
- Henna beautifying balm
- Towel for this use
- Hair dryer (optional)
2. Preparation
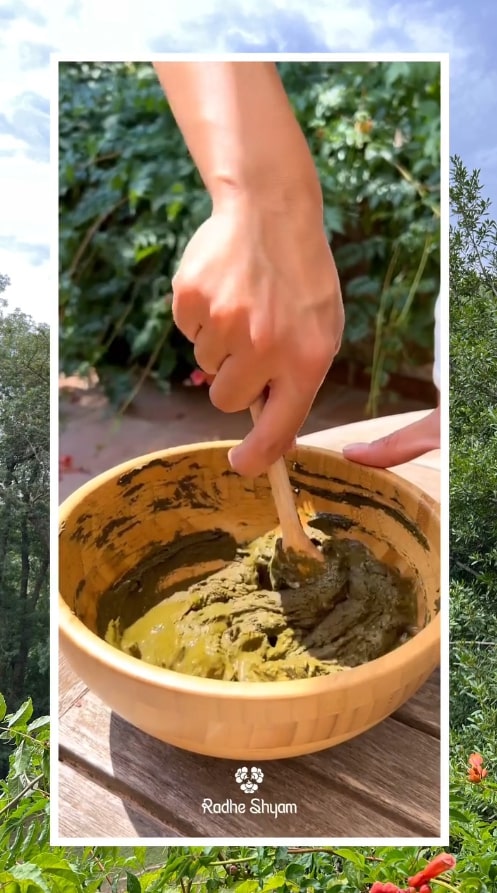
Pour the dose of Henna powder into the container. Then add two tablespoons of the beauty balm and mix everything together. Then dilute the mixture with very hot water until you obtain a smooth, creamy paste. Let it cool. The Henna will be ready to be applied when the paste is lukewarm.
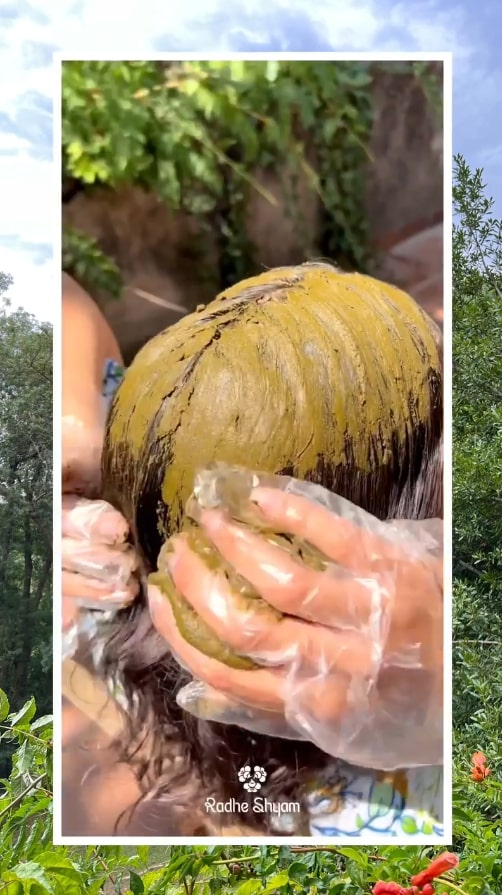
3. Application
With dry hair, gradually apply the Henna paste to your hair by rubbing it into your scalp. Once the roots are evenly coated, do the same towards the tips. Gather all your hair on top of your head and massage gently for a few minutes.
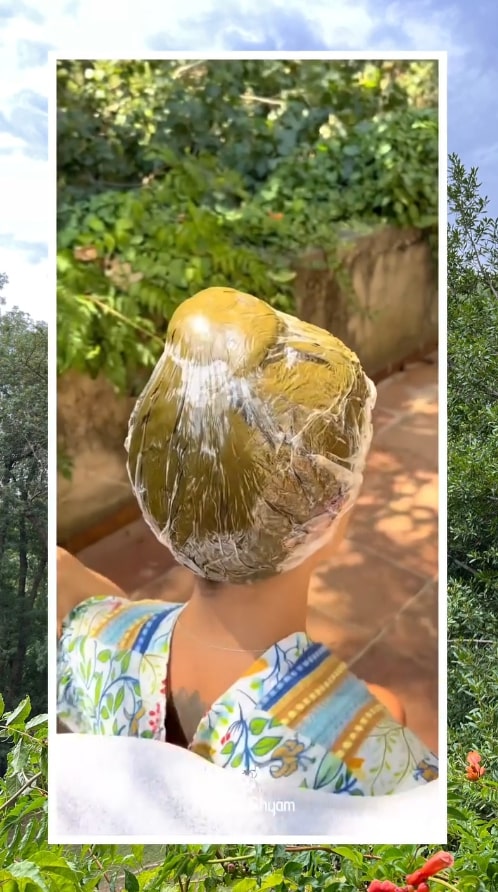
4. Drying
Wrap your hair up in a plastic cap and a towel, taking care to clean your skin so that it doesn't get coloured. You can, to benefit from more pronounced highlights, heat your hair with a hairdryer, as heat accentuates the colouring. In any case, let the preparation take effect, depending on the intensity desired.
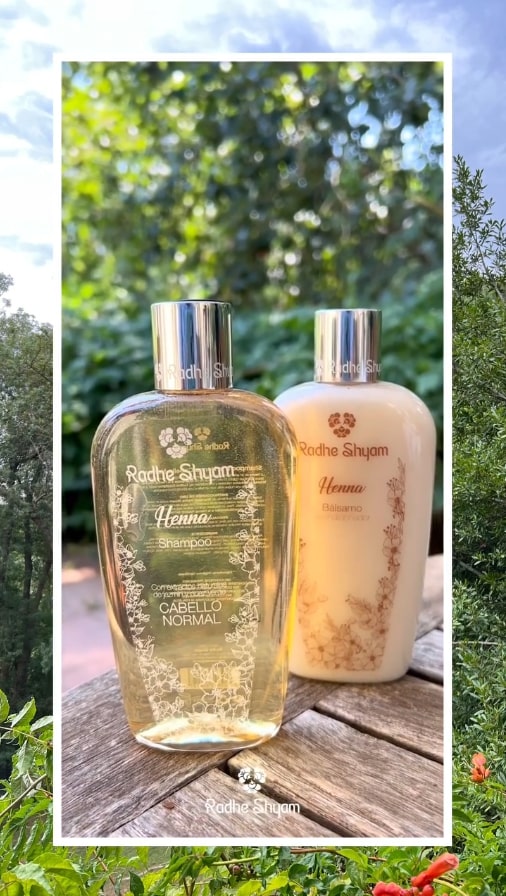
5. Conditioning
After removing the plastic cap, rinse your hair with warm water until most of the paste has disappeared. Follow with a Henna shampoo , specially formulated to enhance the conditioning and colouring benefits obtained. As an essential finale, apply the beautifying balm and massage it into your hair for one or two minutes. This will set the colour and make it easier to condition.
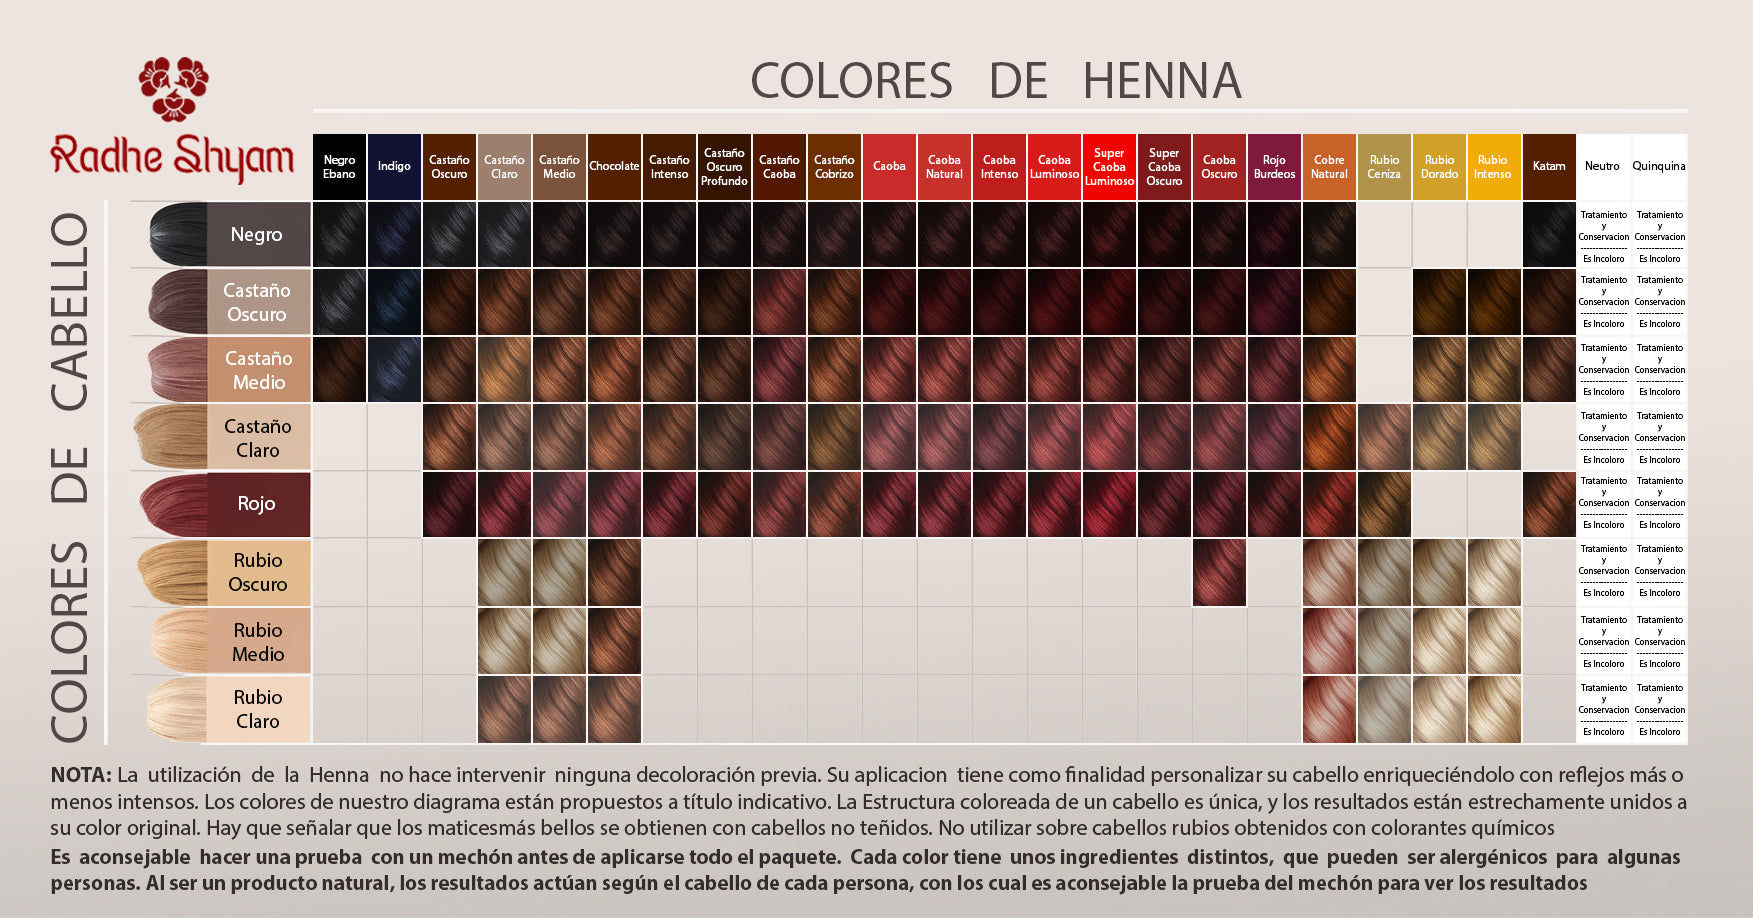
Colours of Henna
Colour transformations with henna
Explore how henna transforms your hair colour naturally. In this image, we show you the original shades of hair and the results you can expect when using different henna colours. From light highlights to intense colours, discover how to customise your style with this ancient technique that is kind to your hair and the environment.
FAQs
FAQ
This is an alternative to chemical colouring. In this case, the colour is extracted naturally from plants. Henna strengthens, adds shine and volume to the hair at the same time as colouring.
For coloring, it is usual to do it once a month for the best results.
Both come from the same plant, but have been treated differently.
Yes, you can. There is no problem when mixing the plants together, although we always recommend doing a test on a strand before applying the product.
Yes, you can, but with some conditions:
- We recommend waiting three to four weeks if you have previously dyed your hair with a conventional chemical dye or bleaching, before applying Henna, in order to avoid the two dyes mixing and causing an unwanted colour.
- If the dye you have applied is an ammonia-free dye, there should be no problem using Henna. It would add shine and volume to the hair. But as we mentioned before, we recommend doing a test on a strand.
Yes, it works for all hair types.

